
Art Quilt – Cottage Cheese Sky. This has been quite a art quilt project. My whole idea at the beginning of this design was to paint this cool sky.
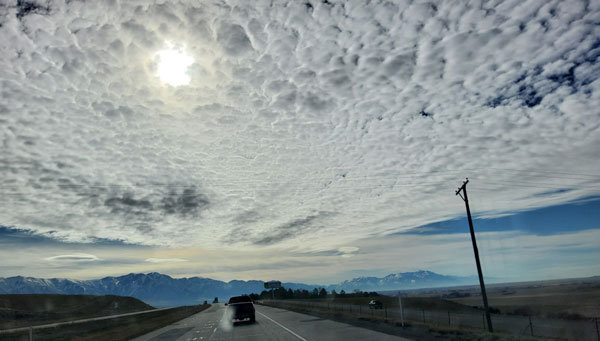
To me, it was all about the way the clouds were clumping together like cottage cheese. I loved how the sun poked through the clouds and then the different sky clouds at the bottom above the mountains. Not thinking of what would be the finished perspective at the end I was too focused on creating the sky a little too much and missed the perspective part.

After drawing the clouds and horizon line and mountains in the picture. I realized that it didn’t have the right perspective. To me, this art piece was about looking into the clouds in the distance. I then drew in the barn and added the flag. Transferred it to the fabric and started painting.

Here is my attempt at painting in the clumping clouds and the warm sun. Watercolors in different shades of gray. Then I tried drawing the clumping lines with gray watercolor pencils. Next was pouncing white acrylic paint onto of the first layer to get the white values whiter. Meantime I decided to add the tractor element to get a little more perspective to the back of the art quilt.

The tractor was painted on a separate piece of fabric and then appliqued on before I quilted the whole piece.

It was looking pretty good by now and I added the first black border and sandwiched it to the back with batting. Ready to quilt.

If you have taken any of my painting classes you know one of my golden rules is if you put too much acrylic paint on a picture it is difficult to quilt through and leaves large needle holes. That is what happened to me. I usually only use white acrylic paint when I want some white highlights. The first quilting pass I used a size 80 needle. It left holes. Then I tried another needle that had a coating to make it easier to quilt fusible applique. That needle left black makes and holes on the fabric. I still needed to quilt the sky! Here is how I solved it.

I fused the original white fabric with heat n bond lite. Then cut out different cloud shapes. This shape covered up the black needle issue. Then I could sew through the fabric without big holes while quilting the center of this art piece. I believe there are seven different shapes added to the sky. After attaching and quilting them, then I pounced white paint on top. Eventually, I did do more quilting in the middle of the cloud trying to get the right effect. Remember this is an art quilt wall hanging so using raw edge applique is appropriate because you will be hand washing it in the future.

The border was my attempt to make the sky pop out of this art creation and I think it was a success. I loved how the foreground added to the perspective of the whole art piece.
This whole design experience reminded me that you have to be open to changes along the way. In another art creation, I will attempt that sky using the grey watercolor paint for the darks and then painting the whites in after it is quilted. I am excited to try this version.
Don’t forget, the “Blog Reply “ contest for this month is almost over. For you newbies each time you reply to one of my blog posts during the month. then your name is put in the hat for a prize. My hubby draws the name out around the first of each month. I send the winner their prize.
Arorra1118@yahoo.com from Kathy Adamson
I like the border within the border.
Thank you for your description as to how you designed and created this amazing quilt. I love the Clouds and the perspective, but what I really, really enjoyed, was how you extended the art quilt design right into the borders. That , I think, really complete the design of this very attractive quilt. Kathleen
Love it, love it, love it!
I can smell a sunny day out in the country. Especially if there is alfalfa.
It’s really cool to see your thought process. It turned out great!
Very unique!!